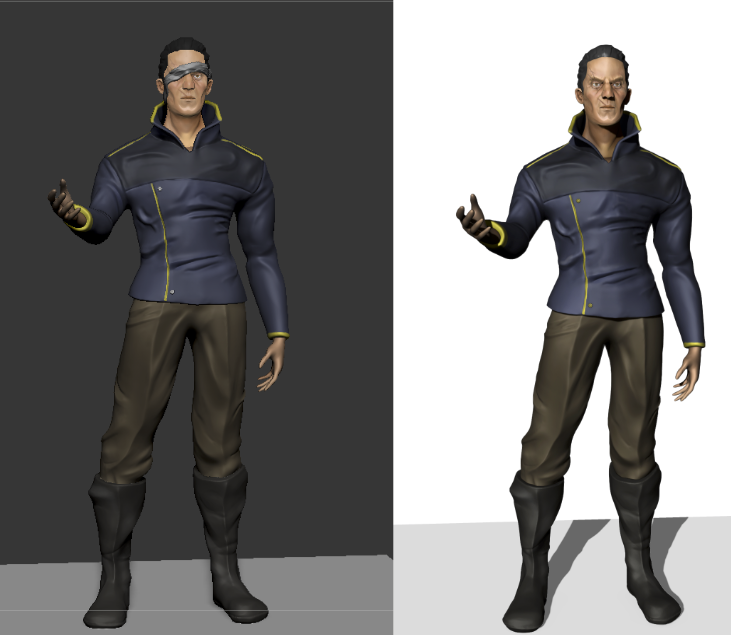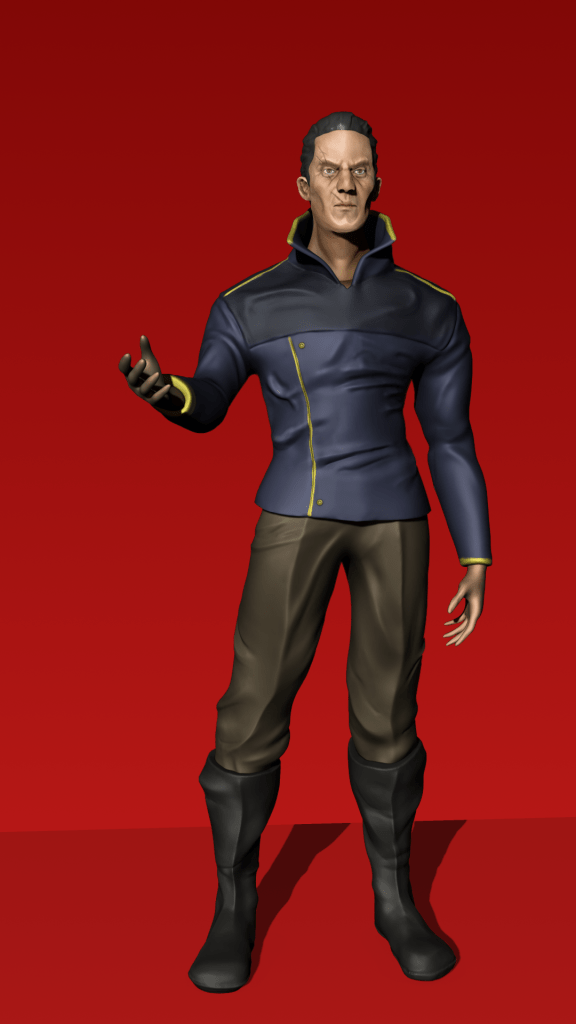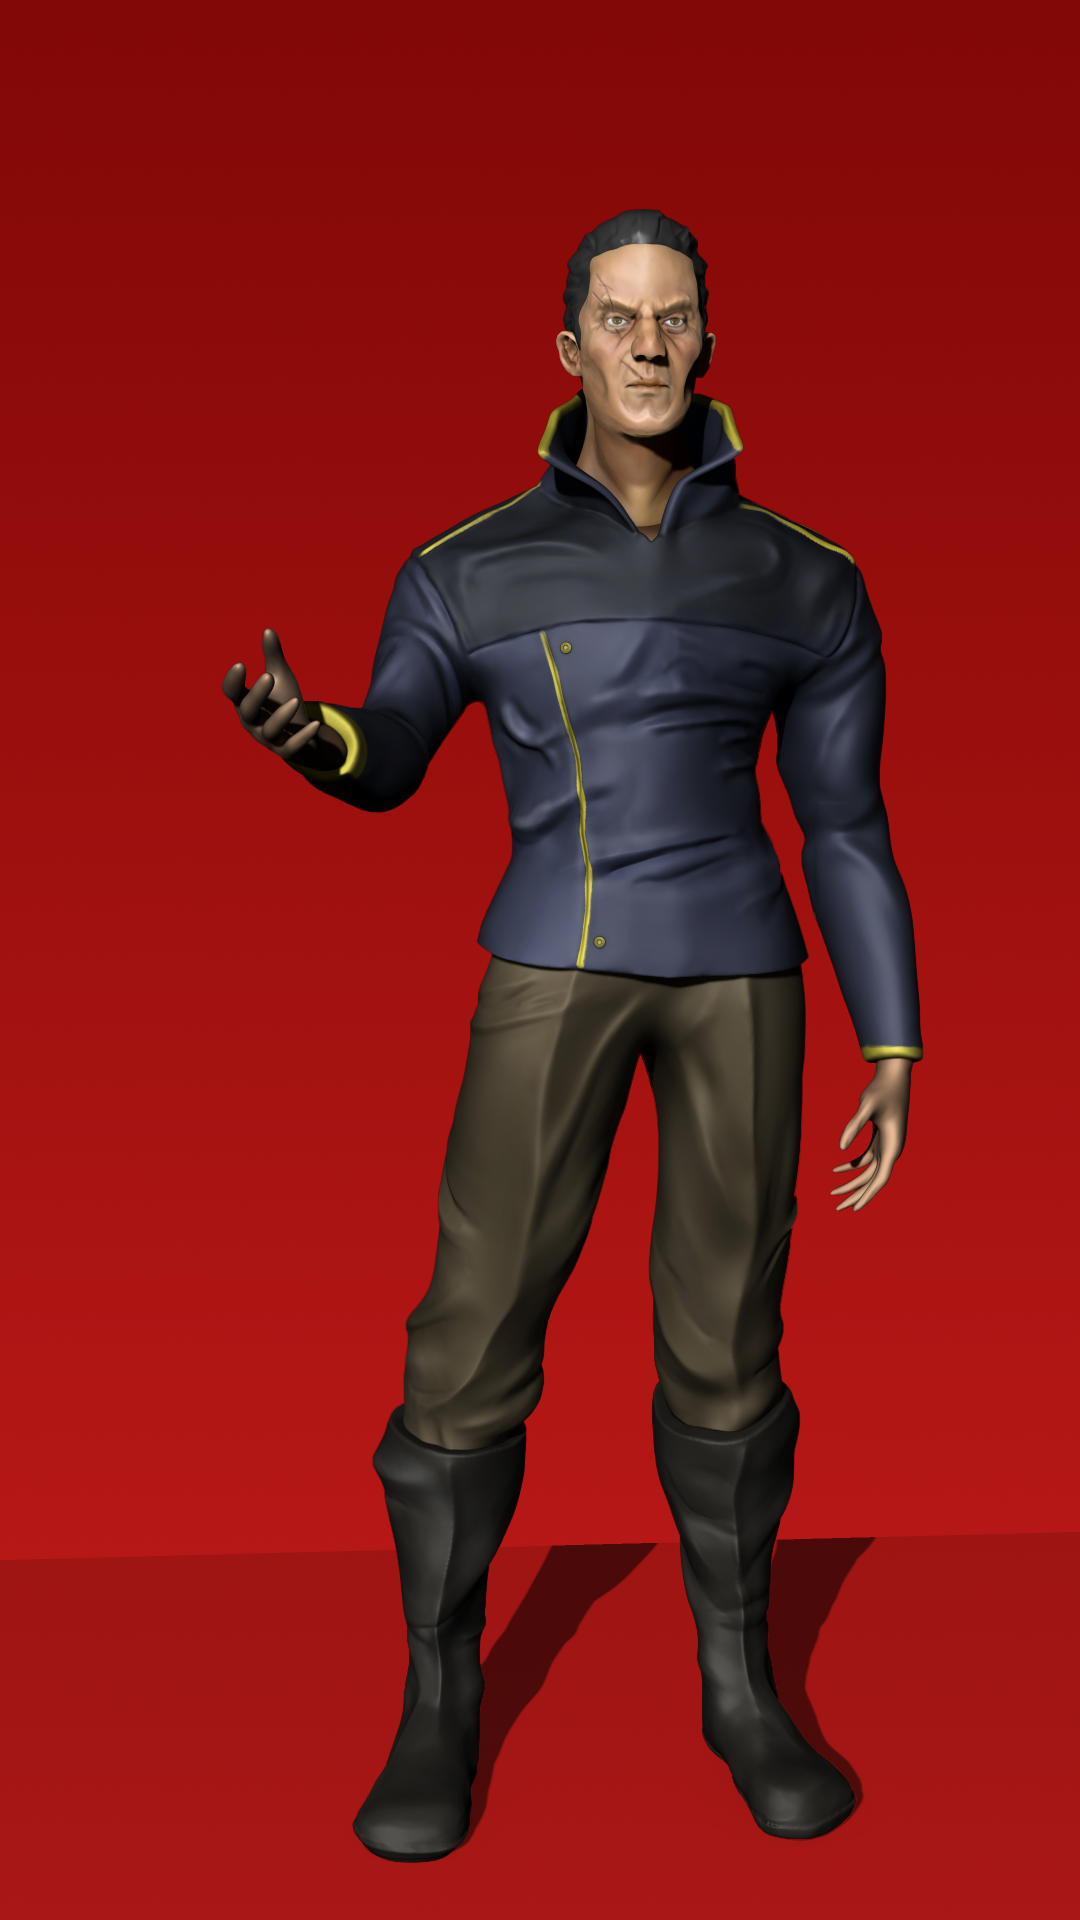
3D art has quickly become a new interest of growing possibilities. Below is the breakdown of a 3D model created in time constraints.
Programs used
Starting point and inspiration
I recently picked up digital sculpting and wanted to challenge myself with creating a character using the skills I’ve learned to make it visually appealing. I chose a brutalist-eques (IS THIS CORRECT?) flat design appearance with references from popular video games.
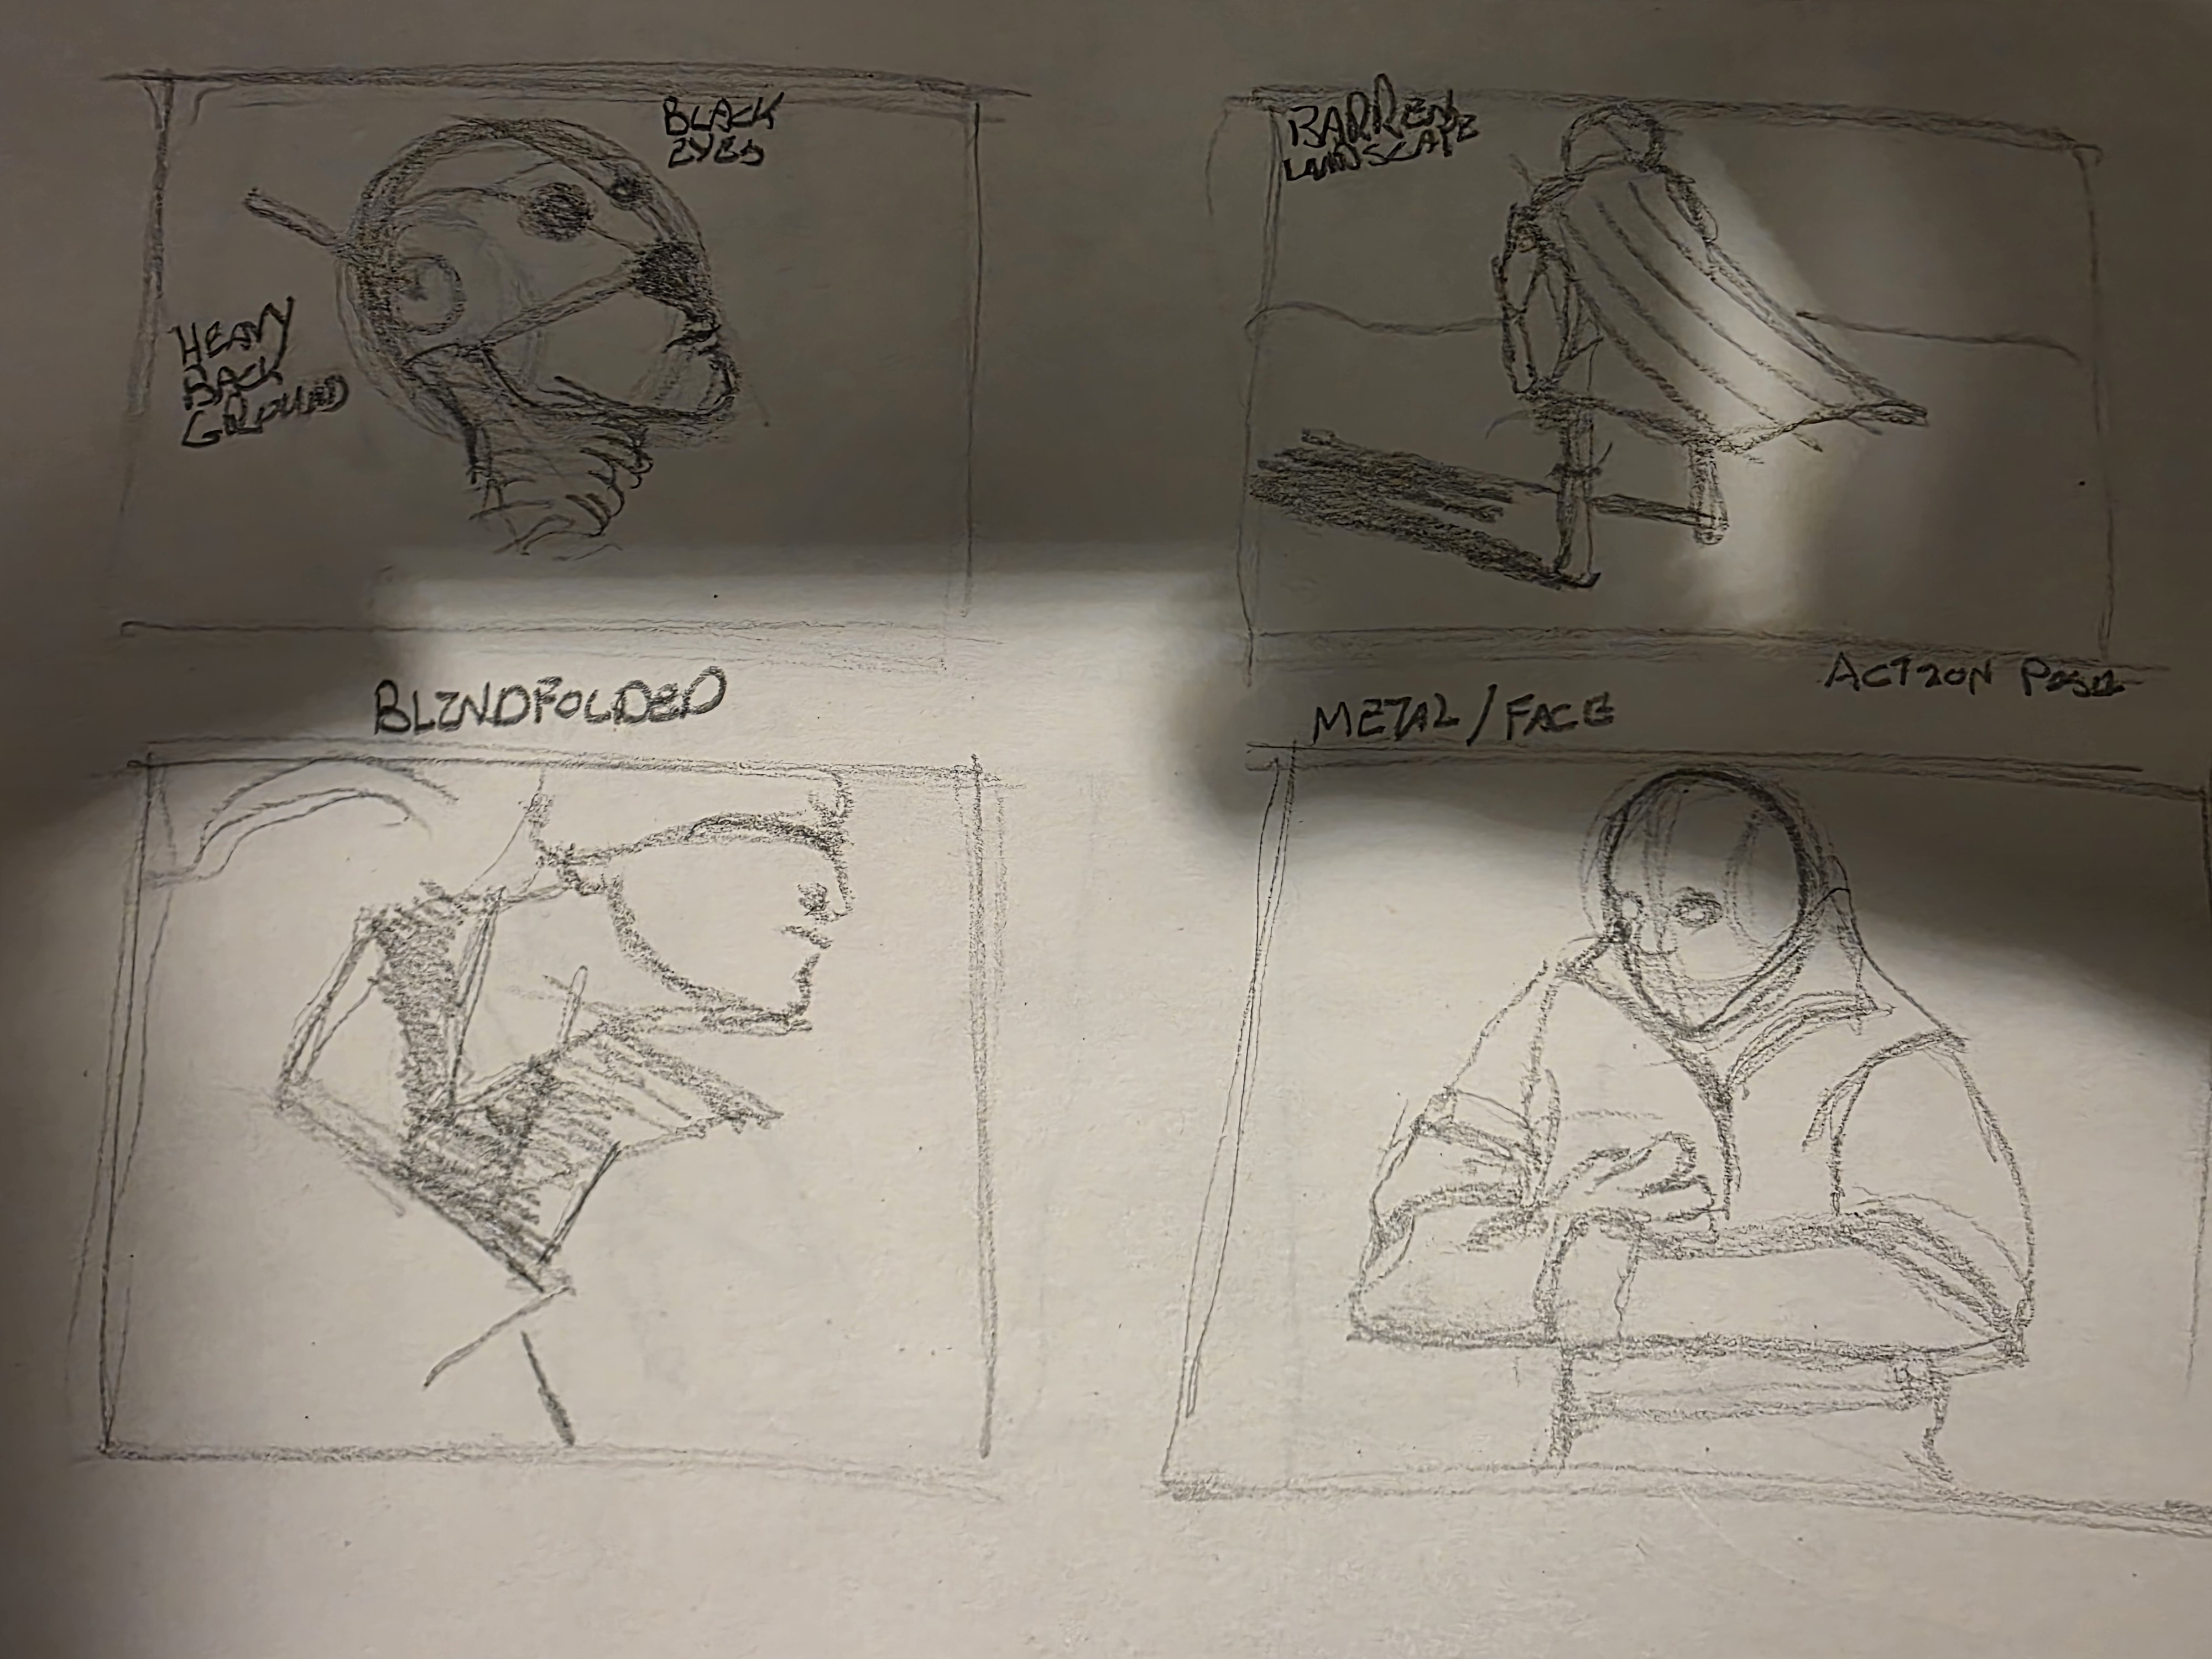
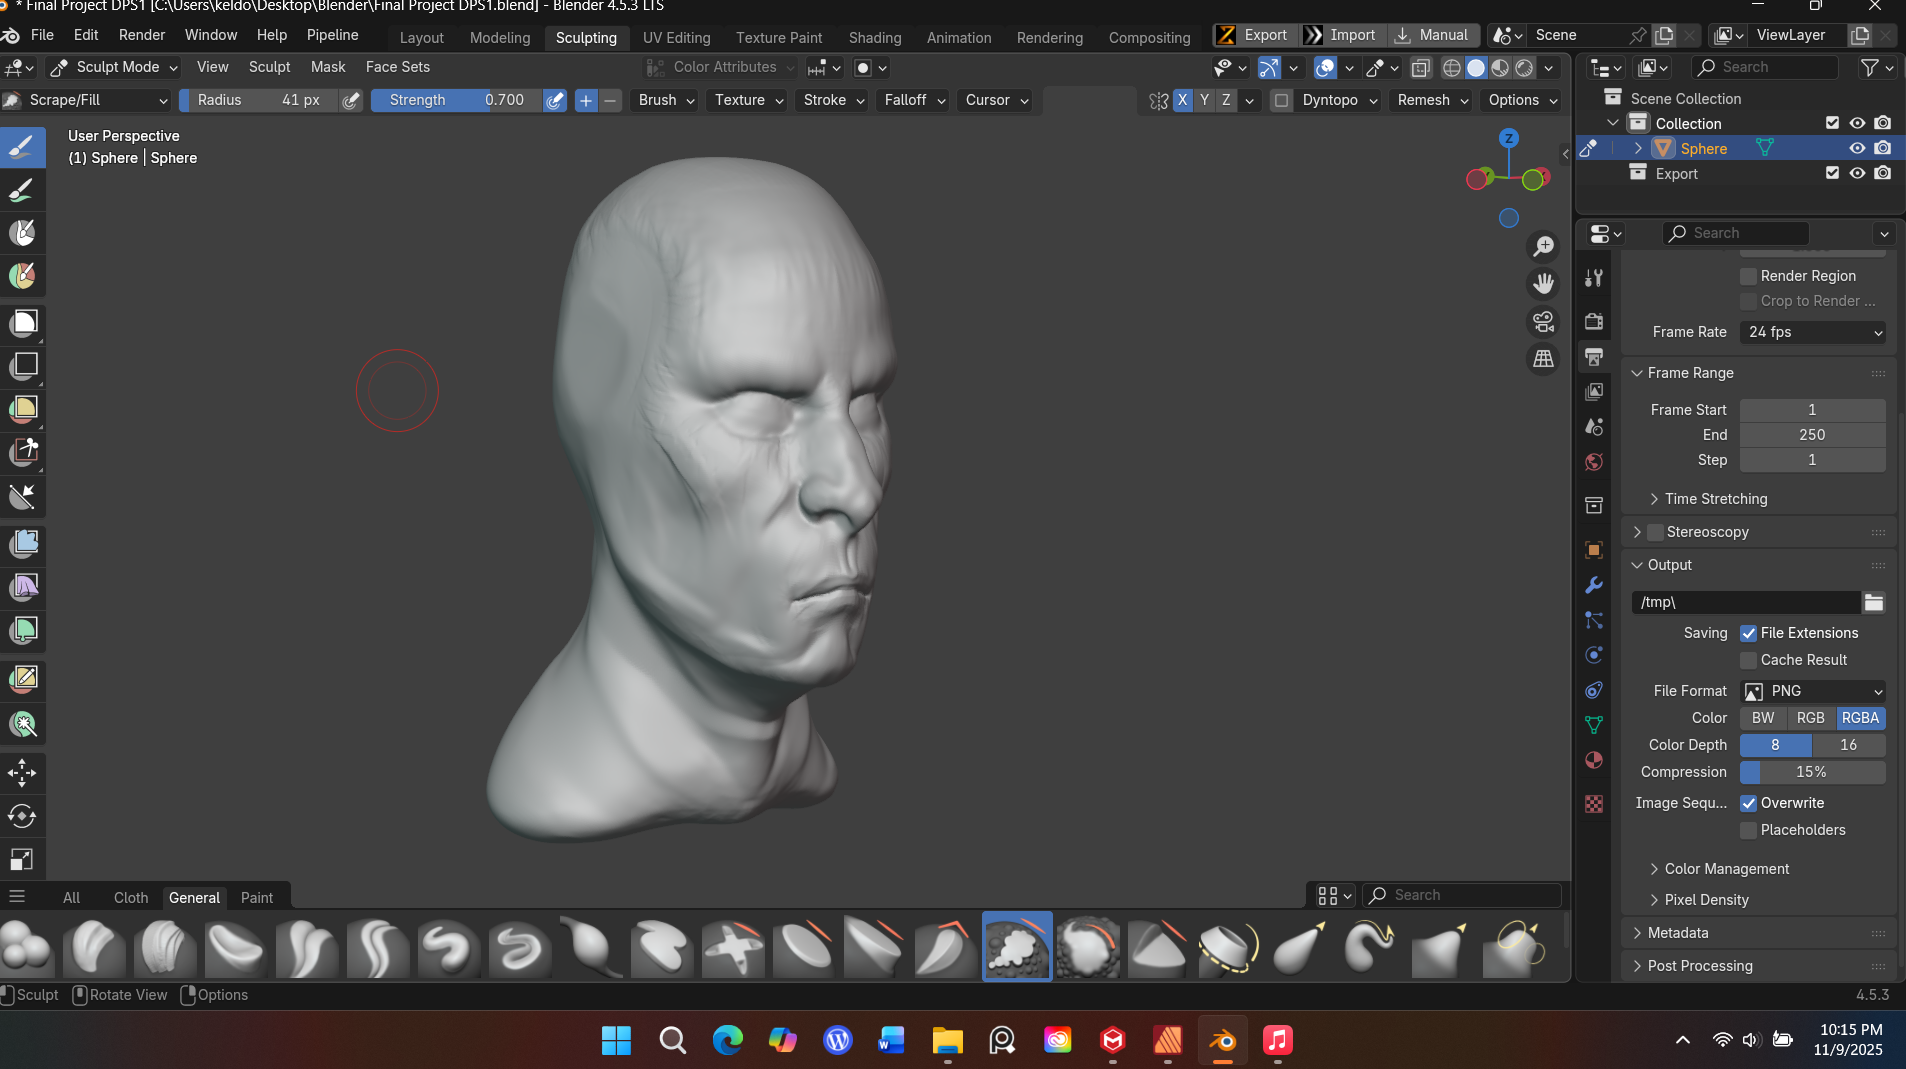
Starting in Blender I began with a basic UV Sphere and utilized the sculpting tools to create my base mesh. I tend to prefer Blender over the more powerful Zbrush at this stage because I don’t need to get bogged down with settings and features that take away from the concept, and I like the look of the brushes better for blocking out here.
Moving to Zbrush
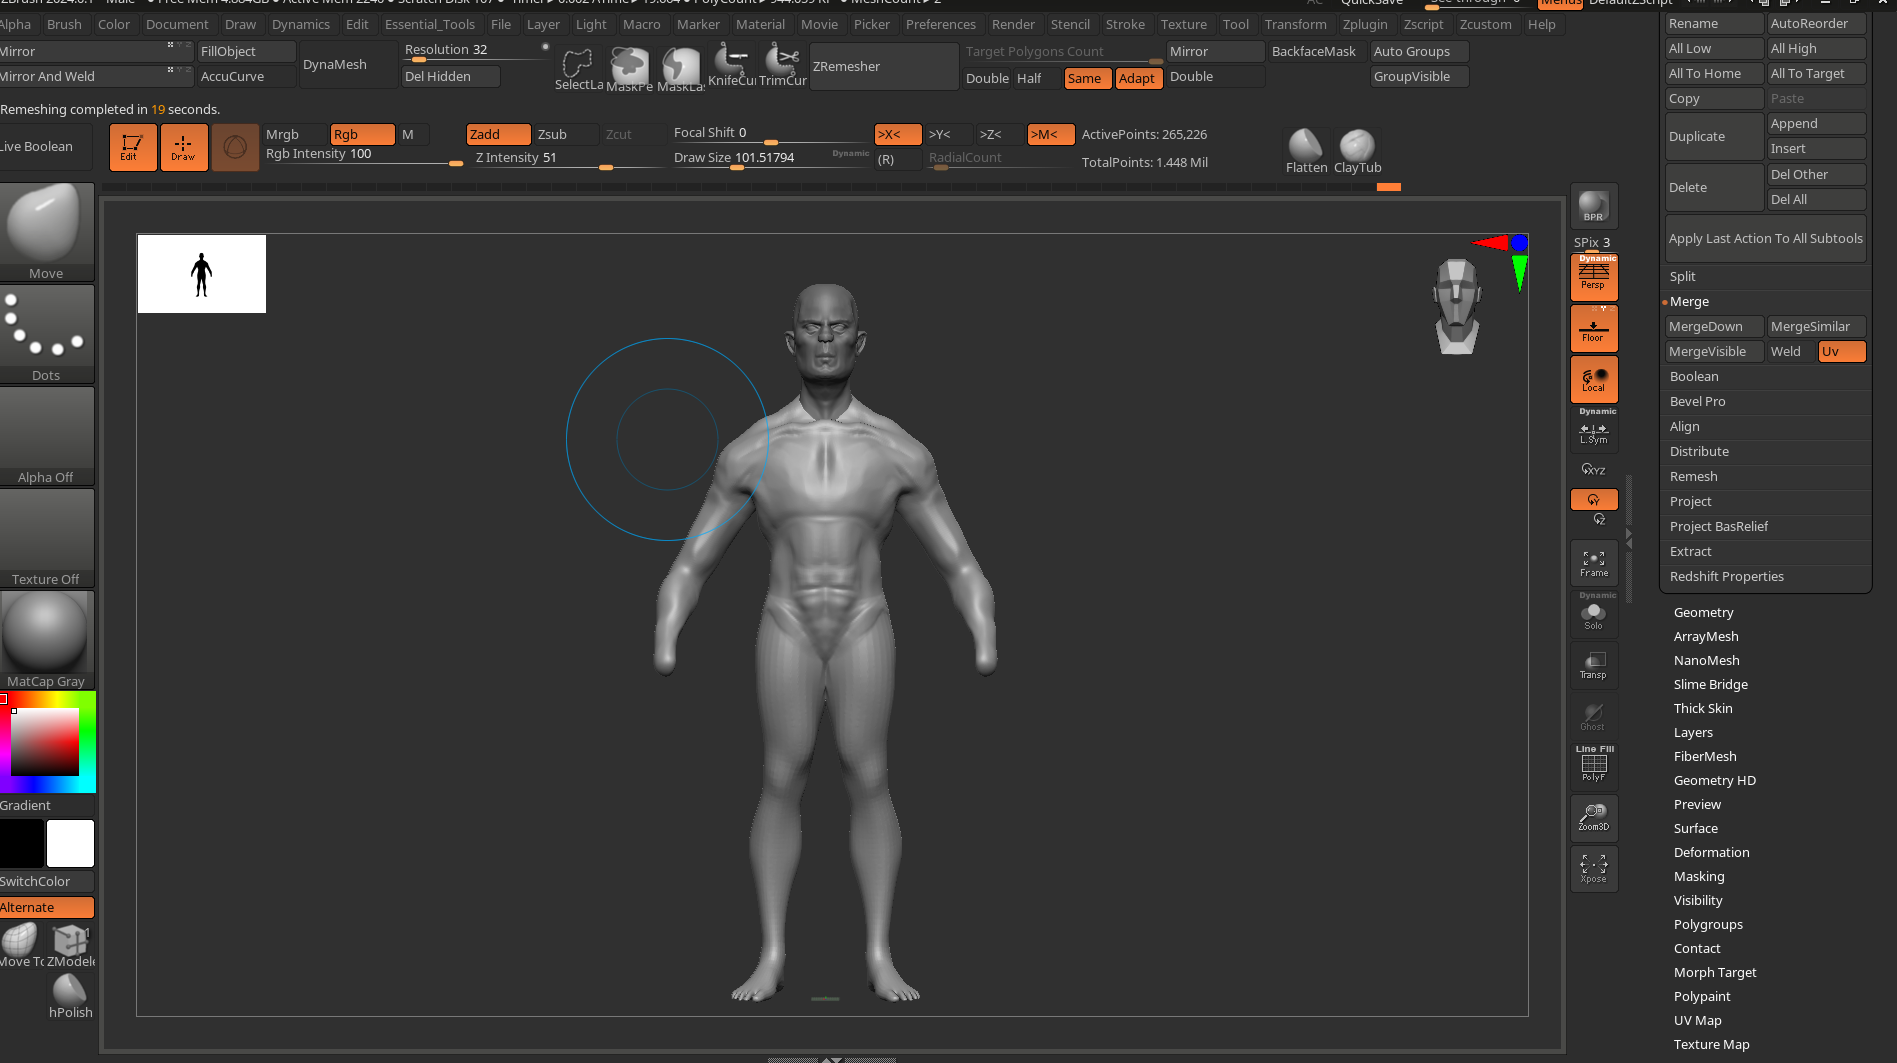
I brought the blocked out pieces from Blender into Zbrush and starting refine the proportions and combined straggling parts together.
First Lighting and painting pass
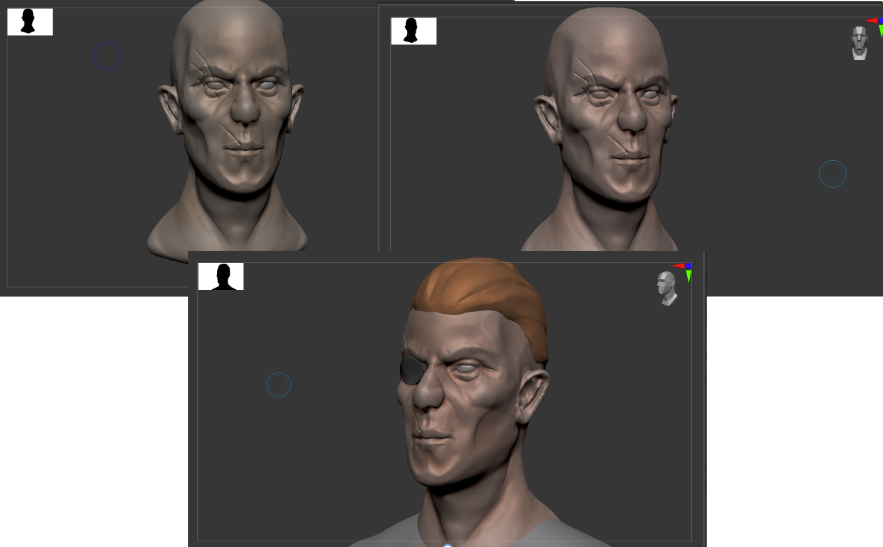
Because my project is done in a 3D modeling environment, I used the tools available to create my compositions. I can artificially create a lighting source when I render my final image but just in case, If I wanted to render it completely by using the hand painted style I experimented by setting my light source into different angles to see what creates visual interest.
Clothing Refinement
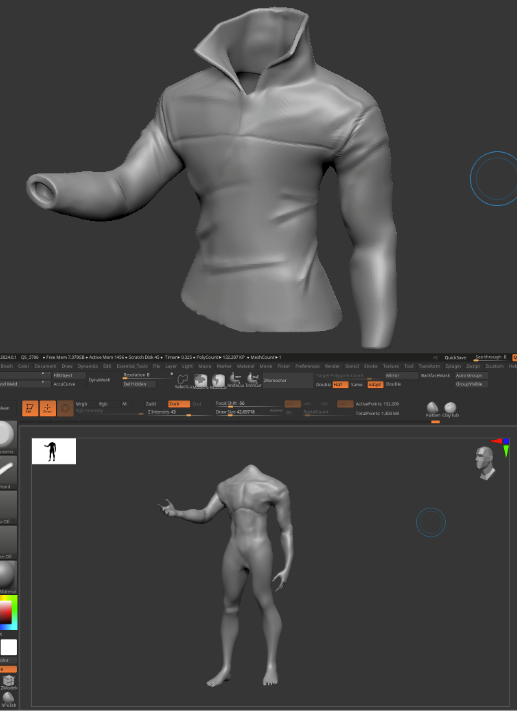
During this point I started to finalize the body portion of the design and using the masking feature I outlined the areas of the body that I was interested in using as clothing. I started using the Dam Standard and Standard brushes in Zbrush to give the appearance of wrinkles and details. This combination of brushes and masking helped me create every aspect of the clothing. I did have to return to Blender to box model the extended collar of the long sleeve shirt.
Hand painted textures
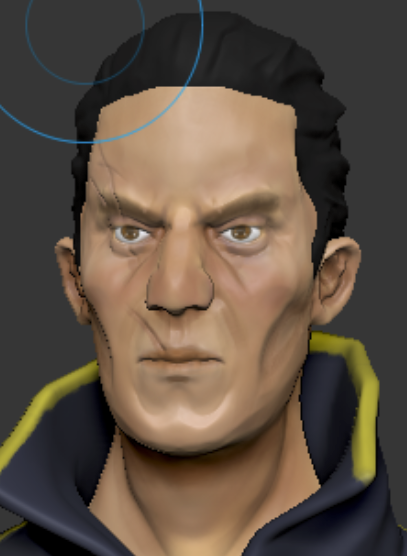
I restarted my texturing process because I wasn’t satisfied with the results I was getting and wanted to have a strong foundation. This time around I created a skin complexion palette and used different brush alphas on the Standard brush to get subtle shadows and highlights. I played with different color arrangements for the clothing but came to something similar to my draft.
Lighting and post edits
I next started with posing and lighting in Zbrush for the convenience of having the different render passes in hopes to export out for some extra editing. I experimented with different camera focal lengths and after many slow rendering trials I found a pose and detail I thought were appealing. I included slight ambient occlusion with two render lights, one for the main shadows and direction and the second for added atmosphere. I moved the image renders into Affinity Photo to layer and mix the different passes to add depth and background.